Showing posts with label geology. Show all posts

Saturday, 24 August 2013

I'm rolling down a volcano!!

One of the highlights of our recent trip to Kelowna was getting to visit Mount Boucherie which is an extinct stratovolcano.  L was really looking forward to it and we tried to explain to her ahead of time that it wouldn't look like her idea of a volcano as it was millions of years old and extinct. 
 
On one side of the mountain is this beautiful winery called Mission Hill winery.  L couldn't contain her excitement at be able to visit a real volcano until we got there and then couldn't hide her disappointment!  She couldn't grasp the fact that there was a winery on top of the volcano!!
However she soon got over it when she realised there was a wonderful grassy hill to roll down.
 All we could hear was " Mommy I'm rolling down a volcanoe!"
Here she is doing a cartwheel.  She also did some highland dancing while she was there.  Dancing, cartwheeling and rolling down an extinct volcano can officially be checked off her bucket list lol!
 
One a side note when we arrived we asked the girl booking tours if there was any information about the volcano.  She asked what we would like to know so my dad asked her when it last erupted.  She looked at us seriously and said I think about 60 years ago.  Well that was the end of our questions and my parents and I had a good laugh for the rest of the day!!
 
It was an amazing view and so romantic.  I for one would love to go back there some day sans kids to have a romantic dinner and sample the wine....

Friday, 16 August 2013

Rocks-Classification and the Rock Cycle

Naturally after learning about volcanoes our conversations turned to rocks and their different forms.  The Internet is an amazing thing and I can see why so many people are homeschooling now.  In just a few seconds you can find an infinite amount of information, activities and handouts on any given subject!  Amazing!
 
We started with this cool rock cycle activity.  We grated some different colored crayons into piles.
For the sedimentary rock L layered the colored shavings on top of each other on some tin foil and then folded the sides up into a little package.  We both applied as much pressure as we could.
 

For metamorphic we made a little tin foil boat and L put the shavings into it.  We dipped it into a cup of boiling water for about 10 seconds and then folded up the tin foil again and pressed on it.
 
To make the igneous rock we once again put the shavings in a little boat but this time L stirred them around until they were completely melted.  We then folded up the tin foil and put it in the freezer for a couple of minutes.
These were the results.  A truly effective way to demonstrate the rock cycle.  Thank you to all of those bloggers that share their brilliant ideas!

 
While we were perusing our local book store I stumbled upon an absolute gem.  I found pamphlet called A Field Guide to the Identification of Pebbles all about the pebbles on Vancouver Island.  It has pictures of all of the different rocks and their classifications.  It is brilliant!
 
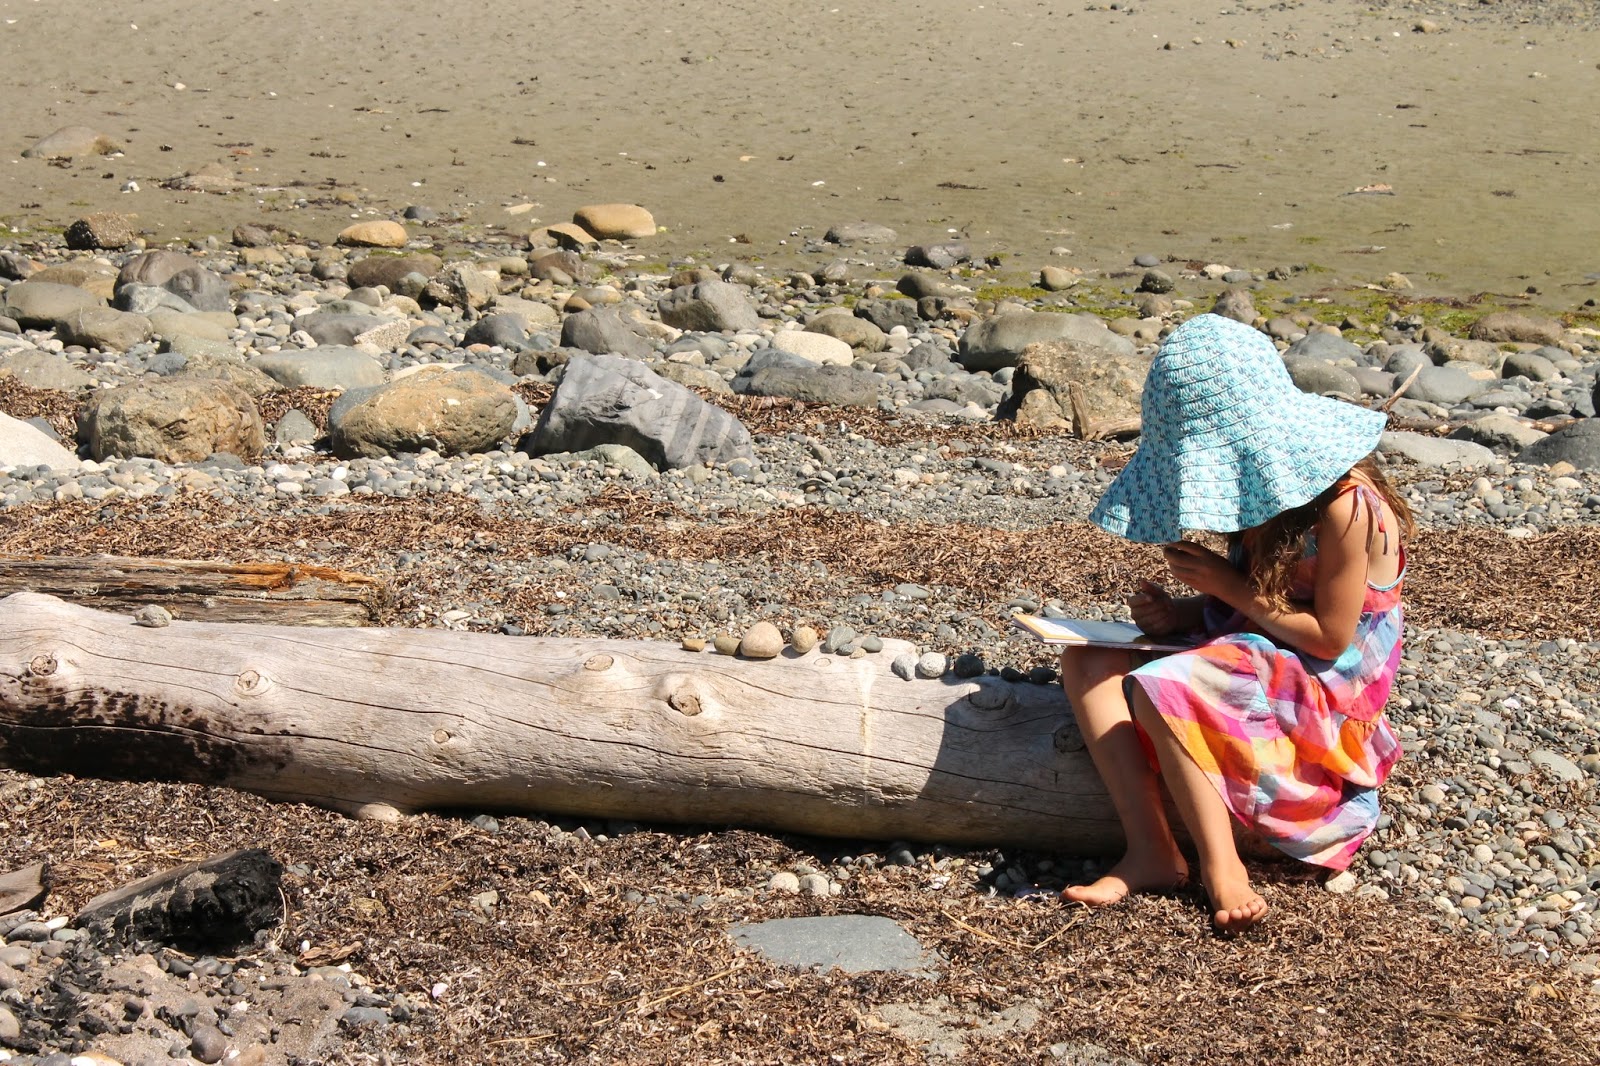
We took a stroll to the beach and collected our specimens.
 Once we got home L classified them using the pamphlet.  She also did the Mohs scratch test on some of them with a screwdriver to check hardness. 
 On our travels this summer we were lucky enough to visit a wonderful rock and gem shop with little caves that held gems that L could pick out and put in a little bag.  She was able to match them to the card that came along with them.
 I think a rock tumbler is now on the birthday list!!

Monday, 22 July 2013

Volcanoes

Learning about volcanoes is always super fun!  We read several books from the library as well as watching eruptions on Youtube.  We talked about how volcanoes are formed and what causes them to erupt.  It was also important to discuss how they affect people and how we are safe and are not anywhere close to any active volcanoes.
 
Then came the fun bit.  L had already done the baking soda and vinegar science experiment at school so she was familiar with the reaction.  She hadn't done it in a model volcano before though!
We found instructions on how to make this model volcano at Storm the Castle
 
First you take a normal cardboard box and cut it down so the sides are just high enough to contain the eruption.  We left a high volcano sized bit at the back to paint the sky onto.
We used the leftover bits of cardboard and some scrunched up plastic bags to make the skeleton of the volcano.
I almost forgot the most clever bit.  Cut a hole in the bottom of the box the size of the bottle you are going to use.  This way you can fill the bottle up first and place the volcano on to of it.  Cover it in a plastic bag and place it in the skeleton for the next bit.
 
 Next we used paper mache (just flour and water) to glue strips of newspaper on and form our volcano.  L hates getting her hands gooey so I ended up putting most of the pieces on.  We used a hairdryer to speed up the drying process but still left it for a day.
 After painting it with acrylic paint we were ready to go.
 This was a big event so L invited some friends over to watch.   She mixed baking soda, dish soap and red food coloring in the bottle and placed the volcano over it.  Then she poured the vinegar in.

Soooooo exciting!!!  The first few times we did this our bottle was not high enough and the foam just went inside the volcano.  It took several tries to get it just right and we used up all of the vinegar and baking soda!
After all of the excitement had died down I gave L this sheet to label all of the parts of the volcano and color.  At the moment it is proudly displayed on her bulletin board.  Once she is ready she will paste it into her science journal.
We are going to Kelowna British Columbia in a few weeks for a short trip and there is an extinct volcano there called Mount Boucherie that we are going to visit. 
 
So what becomes of all of this lava??  Next up rocks......

Friday, 19 July 2013

Volcanoes and the layers of the earth

One of the first things on L's summer to do list was volcanoes.  I figured before we dove in and made a cool volcano erupt we needed to go a little deeper and learn about the layers of the earth.
 
First we watched a Youtube video of a song about the layers of the earth which L found quite catchy and easy to pick up.  We also looked at several diagrams in books and on the Internet.
Once she understood the different layers we made our own model out of modelling clay.
 
L started by rolling a small red ball of clay to represent the inner core.  She then proceeded to roll out a different color for each layer and cover the  ball with them with a little help from me.  It's important not to squish them too much and takes a little finesse.  We tried to make each layer approximately the width it should be in proportion to the other layers but we only had so much clay.
 The final layers were the water and then the continents.
 Once she had held the world in her hands we took a sharp knife and sliced it in half. 

 She was tickled pink that she had a made a real model of all of the layers of the earth and showed it to everyone she saw.
I found it a very effective way of demonstrating how the layers work.
She then wrote up what she'd done in her science journal.
 
A few day later we just happened on a documentary I think it was on the National Geographic channel all about going down through the different layers of the earth.  It was fascinating and perfect timing. 
Now on to volcanoes.....
Related Posts with Thumbnails