Showing posts with label 4 years. Show all posts

Sunday, 12 August 2012

Can you see me now?

 I saw this super fun camouflage activity over at Relentlessly Fun, Deceptively Educational and just couldn't wait to try it out with L.  First we had to order the book   Where Else in the Wild? More Camouflaged Creatures Concealed … and Revealed by David M.
Schwartz from the library.  This book has great pictures of different animals totally camouflaged in their environmet.  It has a game-like feel as it gives the reader clues in a poem to help to detect the animal.  On the inside flap of the page it shows the outline of the creatures plus
gives a ton of info about the actual animal.  L loved this book and some of them were so tricky it took her a while to find them.  She was so eager to turn the page and find out if she guessed correctly.

 After reading the book together I asked L to get all of her animals.  She was super excited when I told her to hide them "camouflage style" while I closed my eyes (and nursed the baby, oh ya multi tasking!) Once she had hidden a ton of animals it was my turn to try and find them. 

This little preying mantis was my favourite find sneakily hiding on the actual book!  Once we both had a few turns being the camouflager I have to say I petered out(she could have kept playing all day)and told her to hide some for when Daddy came home. 
She even packed a bunch of animals in her backpack this past week for a trip to her Aunty's in Vancouver to play the game with her!

Saturday, 4 August 2012

Solar System Part 3

We finished the solar system unit quite a while ago now but I only just got around to taking pictures of our last two projects.
The first is an Our Solar System book which L made using her library books and three part cards.  She made this after we'd finished all the other activities so the information was fresh in her mind.  She drew a picture of each planet on one page and wrote a few facts on the other.
 The piece de resistance!! Our solar system mobile.  We used different sizes of Styrofoam balls and painted them with a mixture of acrylic paint and Modge Podge.  This project was so fun until it came to hanging the planets.  That's when I sat with invisible thread, a needle and bunch of planets cursing the day I decided we should do the mobile.  L had long moved on to something else!  Well finally I finished it and I think the result was worth it.  We hung it above our kitchen table for a few weeks so we could observe it while we ate!

Thursday, 5 July 2012

The Solar System Part 2

Here are some more of our Solar System activities.

This was another "try it" from the book Starting With Space: The Planets by Cynthia Pratt Nicolson.  The purpose of this "try it" is to see how the clouds of Jupiter are constantly moving, swirling and changing. 
To create your clouds you need to put 1 cup of milk into a pie plate or something similar.  Then add two drops of yellow food coloring on one half of the plate and two drops of red on the other half.  Then add a drop of dish detergent to each of the drops. 

 Gently swirl and you get a wonderful effect!  L loved this experiment and was busy swirling and watching for ages.  Once everything was totally blended together she wanted to try it again.


Another activity that was fun and also had so many educational elements is the Planets Winding Word Puzzle. You have to follow the directions to find words that make up a clue about one of the planets.  It covers reading, writing, following directions, left and right as well as questions on the planets. This is from my new favourite blog Relentlessly Fun, Deceptively Educational.  This blog totally rocks and has so many super cool activities that are right about L's level. 


I think this next activity was L's favourite.  Pin the sun on the solar system!  I found the page here that L colored and then cut out the planets.  I used a compass to draw the white circles on black construction paper, added the planets and then we took turns using the blind fold and trying to place the sun in the centre.

Saturday, 30 June 2012

The Solar System Part 1

On the first day of L's summer holidays we sat down together and made a list of all of the things she'd like to learn about and do this summer.  One of the first things on the list was the Solar System.  The first thing we did was to get some books out of the library.  We found several but the one that was the most useful was Starting With Space: The Planets by Cynthia Pratt Nicolson.  Not only did this book have lots of information at L's level but it also has lots of experiments or "try its". 

This time around instead of preparing all of the materials for L before hand we worked on them together.  After reading the books together we made some three part cards of the planets.  We found pictures on Google Images and then wrote some facts about each planet on the back.
Next we made some felt planets to go with the cards.  I got the idea for from Counting Coconuts.  Instead of sewing though we just glue guned them together and they took no time at all.  L also helped with the tracing, colors, sizes and cutting out.

 Here's L reading some info about each planet and then matching the card and the felt planet.
 Here's the finished product.

 One of the "try its" in the book was to measure the distance between the planets.  It talked about how scientists use Astronomical Units and one AU is the distance from the Sun to Earth.  L measured with her foot.  Mercury at the instep of her foot(heel against the sun), Venus at the joint of her big toe and Earth at the tip of her big toe.  Mars 1 1/2 steps from the sun, Jupiter 5 steps, Saturn 9 1/2 steps, Uranus19 steps and Neptune 30 steps.  Wow no wonder Neptune is the coldest planet!!

Another "try it" was to compare the size of the planets.  We just used a big yellow box for the sun.  A pea for Mercury, two plums for Venus and Earth, a raspberry for Mars(which I now see is in the wrong spot!), I calls for a watermelon for Jupiter but we didn't have one so we used L's ball.  A cantaloup for Saturn and two nectarines for Uranus and Neptune.  This was very helpful in realising how drastically different the planets are in size.
We are both loving learning about the Solar System and I'm learning just as much a L!!  Stay tuned for more....

Wednesday, 22 February 2012

Pumpkin Wildlife Cookies

My mom bought L the coolest cookie cutters the other day.  We were desperate to try them out and also tried out a new  recipe for pumpkin cookies.  They made a nice change from our usual gingerbread cookies.


So cute and yummy!  L is becoming quite the baker!
Here is the recipe for any who would like to try them out.

Pumpkin Cookies

1/2 cup brown sugar or honey
3/4 cup butter
1tbspn orange zest
1/2 cup pumpkin pie mix
1 egg white
1tspn vanilla
21/4 cups whole wheat flour
1/4 tspn each of cinnamon, nutmeg and ground ginger
pinch of salt

In a medium bowl cream the butter, brown sugar(or honey)and orange zest together.  Stir in the pumpkin then add the eggs and vanilla and mix well.
In another bowl sift together flour, cinnamon, ginger, nutmeg and salt.  Stir into the pumpkin mix.  Chill for 30 min.  Cook for 10-12 minutes at 375degrees C.
Next time I think I will reduce the amount of butter as I found they were pretty oily and moist.  It could have been the type of pumpkin mix I used.


Wednesday, 8 February 2012

Auroras

We found this beautiful book about the story of the Northern Lights at the library recently.  It is beautifully written and illustrated by Mindy Dwyer.   After reading it L had a lot of questions about what exactly the Northern Lights are.

 I found this little story on the Internet about the Aurora Borealis and Australis that L could read herself.  We also looked at several pictures on the Internet and watched this wonderful video.
Then it was time to do some hands on. 
We covered out sheets of water color paper with dark blue watercolour paint.  Once it was dry we used black paint to do our silhouettes of the trees, mountains and a little cabin.  We also added a bit of white for snow.
Once the paint had dried we drew dark thick lines across the sky with different colored chalk and then blended them by wiping a paper towel across them.
Here are the finished products.  L's is on the top and Mommy's is the bottom one.

They ended up being quite effective and L proclaimed "They look just like in the book!"

Thursday, 2 February 2012

Money Work

L has been saving her coins in her piggy bank for ages now and we decided it was time to roll them so she could take them to the bank.  L gets spare coins from us and also gets to keep the money from helping to return the bottles to the bottle depot.
The last time we did this L just helped to sort the coins and put them in the rollers.  This time we added all the steps and also turned it into a lesson about money.

First step.  Sort the coins.  Turns out we had quite a few American coins as well so we had to talk about the difference and the fact that our banks will take American coins(although I'm pretty sure it doesn't work the other way around!)


While we were doing this we looked at the Canadian coin sheet I printed out and talked about the names of the coins and what was on each one.
Once we had finished sorting L found each of the coins to match the amounts I wrote out on another piece of paper and we talked about how much each coin was worth.

 We started with the pennies.  I made this sheet for her with columns in tens to help her count out the 50 pennies needed to go into the roller.

 The most rewarding part.  Putting the pennies into the roller.  She was so proud that she'd done it all herself this time!  She then moved on to the dimes and used the same sheet for $5.00 this time.
We didn't get through all of the coins so we will continue this work another day and then L will take all of her rolled coin to the bank to deposit into her account.  She knows we use this money to pay for dancing, skating and swimming lessons and for skiing.  I think it's great that she is learning to contribute to pay for the things she likes to do.

Sunday, 29 January 2012

Lovehearts Art

While I was checking out Kathy Barbro's tutorial for the Winter Birches over at the fantastic blog Art Projects for Kids I came across this super cool Valentine's art project.
L is super excited about Valentine's Day this year which she calls Lovehearts Day.

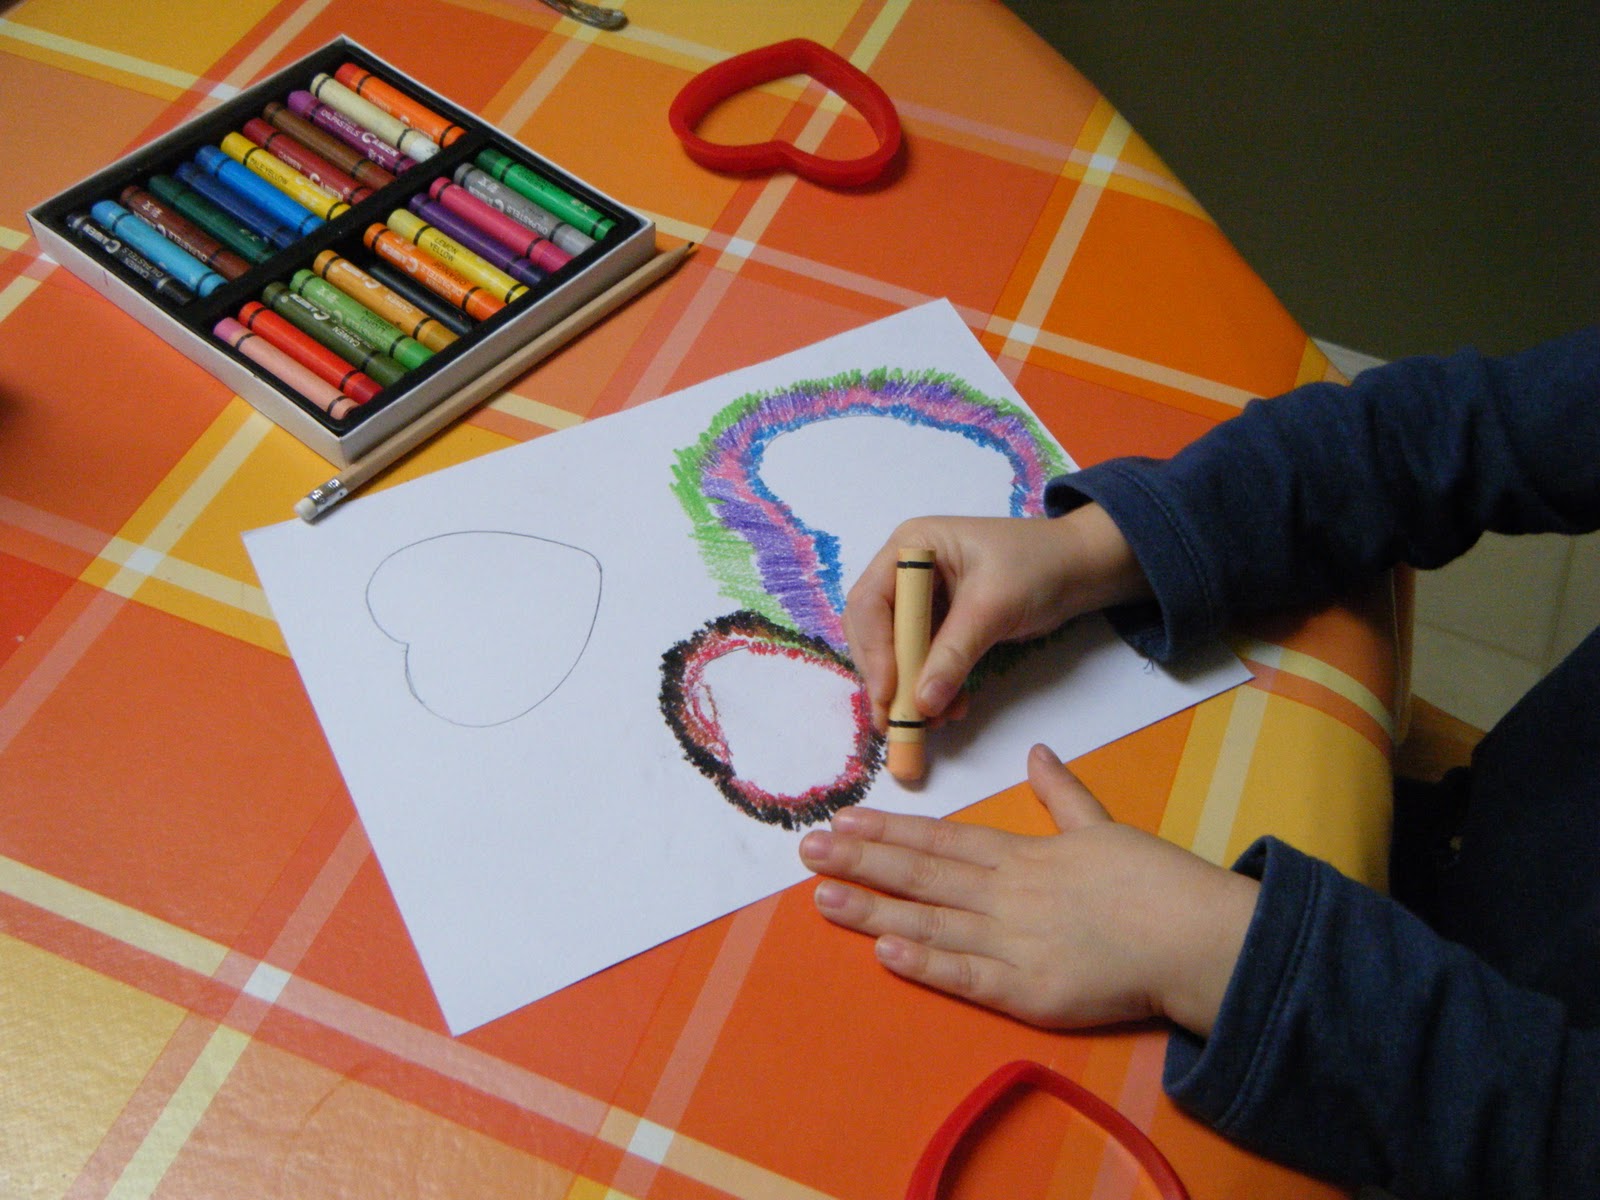
I was also excited to finally use the oil pastels I bought months ago.  We did the project on some leftover water color paper.  We used three different sized heart shaped cookie cutters to trace our hearts onto the paper.
L then chose her first color and outlined a heart with zigzag lines.  She did that about three times for each heart in different colors and then kept filling in more and more colors.  This was a pretty long project and I had to keep encouraging her towards the end but the result was totally worth it!


Here are the finished products.  L's is on the left and Mommy's is on the right.

Friday, 20 January 2012

Easy, beautiful artwork

When I saw this gorgeous Winter Birches art project over at Wee Folk Art I knew it was one L and I would have to try out right away.
After having a fairly mild winter we finally got snow this week and L had a snow day.  It was the perfect day to bake cookies and try out this painting.
 This beautiful piece of artwork was so easy to make.
For a full tutorial with step by step pictures go to Wee Folk Art.  They used painters tape but since we didn't have any on hand I just used masking tape.  It took off a little of the paper but in the end it still looks great and I think it adds a nice texture.


We haven't done a project like this in a while and it reminded me of how much fun it is to get out the paints and do artwork together.  Thank you Wee Folk Art for posting about this great project.


Monday, 16 January 2012

Advent Activities 2011 Week 4

Day 20
"make angels"
We made these last year and L was asking to make them again this year.  They are very simple to make just using coffee filters.


Day 21
Okay honestly I just can't remember what we did this day.  This is what happens when you don't record things right away! Lesson learned!

Day 22
"Auntie M and Uncle J arrive"
This Christmas was a very special one for us as not only was it our family's first Christmas in our new house but my husband's sister and her husband came to stay with us all the way from England.  L was beside herself with excitement.

Day 23
"make angel decorations"
I saw these on a blog while I was blog surfing and now I can't for the life of me find it again to link back to .  If these were your idea please leave me a comment so I can link back to you.
These are so simple to make just using a cardboard cereal box and a Styrofoam ball.  We tore up some Christmas paper and modge podged it to the body, head and wings.  Once they were dry I glued on the heads and wings with a glue gun.  L made the little one and I made the big one.  I'm really happy with how they turned out.

Day 24
"Go skating at the Winter Wonderland"
Every year our local arena does a wonderful job of turning a boring old skating rink into a magical wonderland with trees, lights and winter scenes.  They turn the lights down and play Christmas music.  It's such a wonderful family event.

Phew that's it I managed to do it.  Looking back and remembering all of these activities we really did have a fantastic Christmas season.

Advent Activities 2011 Week 3

Okay I know it's waaay past Christmas and I've been seriously neglecting this blog but I did want to record our advent activities this year before I forgot.  So here goes...

Day 14
"make Nutcracker puppets"

L was seriously into the Nutcracker ballet this year so she really took care with making these puppets.  You can download them here.

Day 15
"Ice and decorate the Christmas cake"
This is an age old tradition in our family that goes back to when my sister and I were little girls.  We've had these decorations for ages.  The best part is putting the cheeky brown sprinkles behind the reindeer's!
 Day 16
"make picture frames"
I saw these over at The Magic Onions and fell in love with them.  I was amazed how beautifully they turned out and wish I'd bought more frames.  We'll be doing these again in the future for sure.

Day 17
"make ice ornaments"
These are just so beautiful and easy to make.  L and my mom collected different bits of nature, then popped them into her bunt pan and filled it with water.  It wasn't cold enough to leave it outside so they put it in the deep freeze until we used it.

Day 18
"look by the fireplace"
I got L one of those colouring pages that has black felt or something like it and you colour around it with markers.  Unfortunately I didn't get a picture but she really enjoyed this activity.

Day 19
"Go to M Garden's "
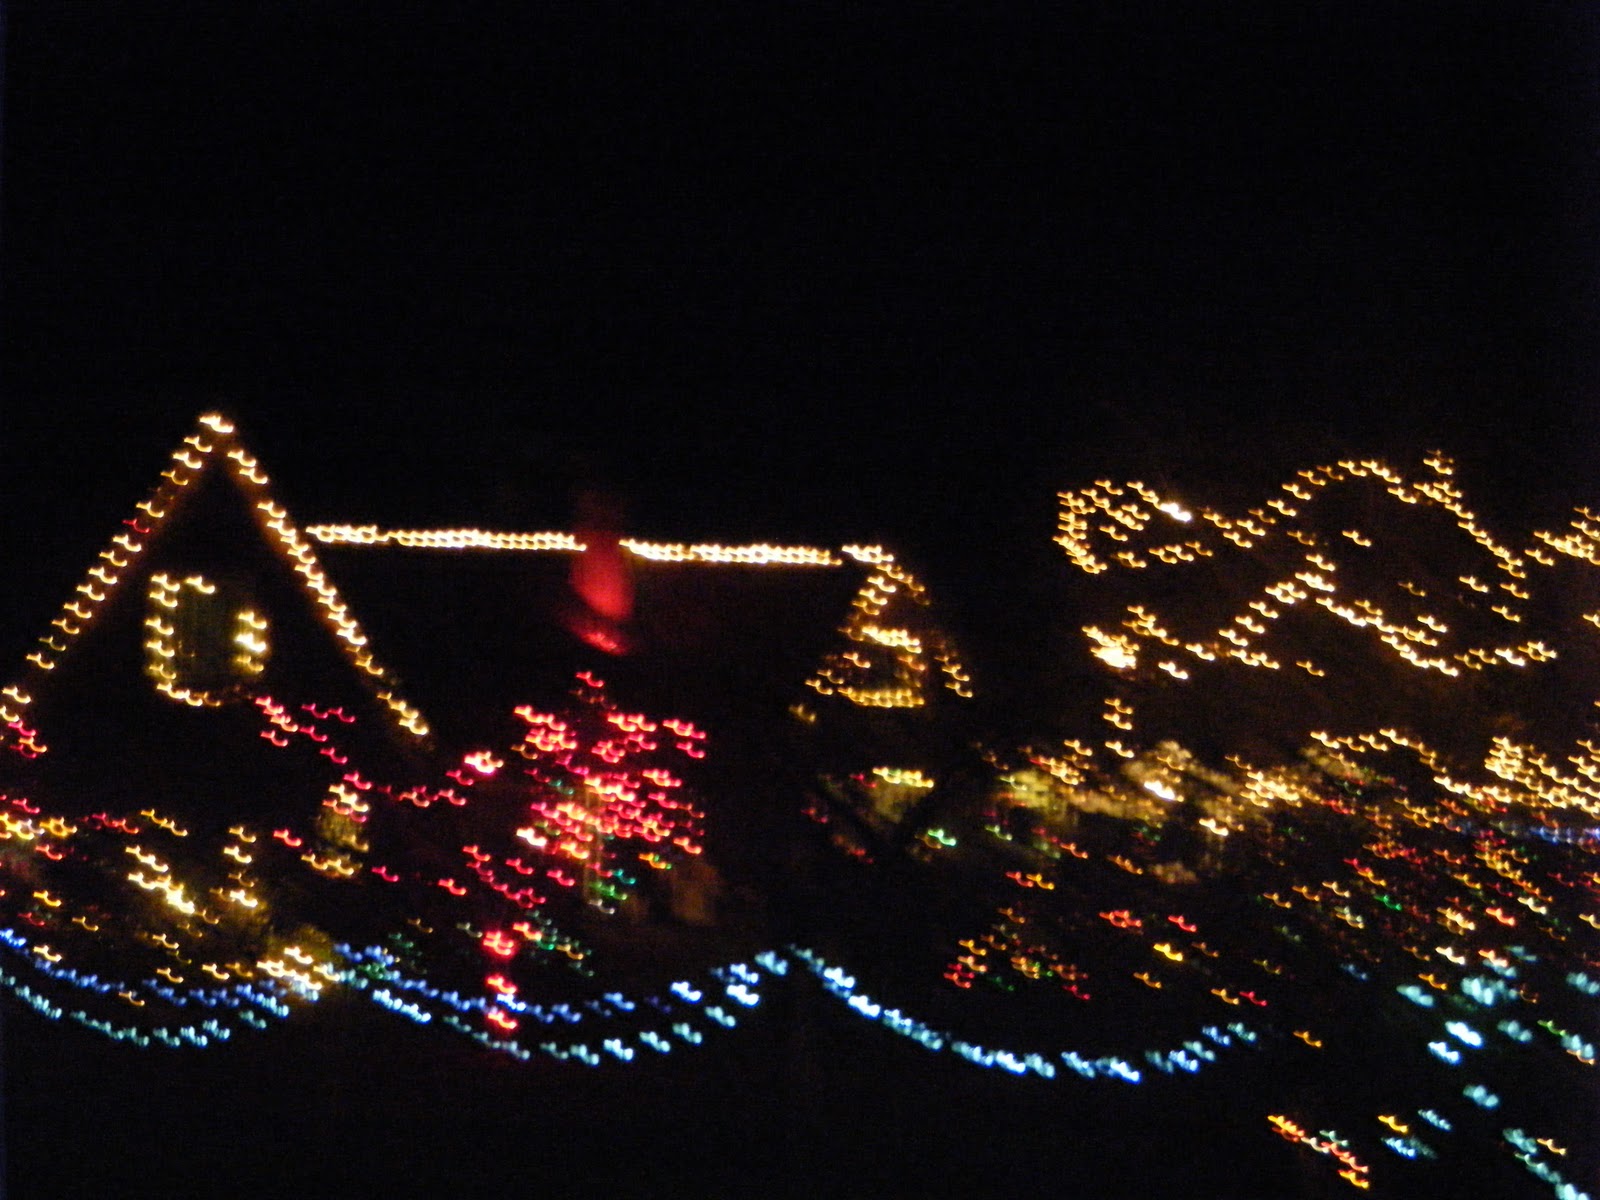
This is quickly becoming a Christmas tradition with our family.  A local heritage house in our area puts on an absolutely phenomenal display of lights on their huge estate.  For the past two years now we've invited over our friends for dinner and then all gone to look at the magical lights together.  It's a highlight of the season.


Monday, 19 December 2011

Advent Activities 2011 Week 2

 Day 8
"Make candle holders for your teachers"
I had great plan on making cute little candle holders out of air hardening clay for L's teachers but when we opened the package I realised it was actually paper mache! I had to do some quick thinking and we ended up making bowls for them instead.
L had a great time mixing up the goo.

 L and Granny had collected little rocks and shells from the beach the day before.
 Good thing we started this project early as they took two days to dry by the fire.  Here is the finished product.  Not sure what they're going to do with them but it's the thought that counts right?
 
Day 9
" Look by the fire place"
I found this cute little 3D puzzle at the dollar store.
 Day 10
"make snowman hand print ornaments"
These have been all over the blogsphere this year and last and I really wanted to do them with L.  She did the hand print and I painted on the snowmen.  She also helped push the shiny garland into them.
 Day 11
"bake gingerbread cookies"
L made these Christmas gingerbread cookies to take to her sing along at school.
 Day 12
"Look under the tree"
This was before we had any presents under the tree.  L found a little kit to make this Rudolph ornament.
 Day 13
"Look on the table"
I found this foam gingerbread house kit on sale at our local craft store.  We'd never done one before and it was tons of fun.  I love how it turned out.

Sunday, 11 December 2011

First week of advent activities 2011

This year since I don't have as much free time our advent activities have been a combination of little gifts, crafts, and Christmas activities.

Day 1
"Look on your chair"
L started off her advent calendar by finding a pair of Christmas socks with snowmen on them.  I'm having a hard time peeling them off her feet long enough to wash them!

Day 2
"Find all of our Christmas books"
I was amazed at how many Christmas books we've acquired over the years.  Some old favourites like The Night Before Christmas as well as a new collection of wonderful Christmas stories.
Day 3
"Make Christmas cards."
We took on the ambitious project of making cards for all 22 children in her class.  We have been trying different styles of cards on different days and are about half done.


Day 4
"Look by the fish bowl"
L found this cute little snowmen pencil crayon.

Day 5
"Make candy cane ornaments"
Simple yet effective!

 Day 6
"Make snowflake decorations"
We were making some modest snowflakes until Daddy got involved and took the snowflakes to a whole other level!  This was really a fun family activity.

Day 7
"Look by the fireplace"
L loves The Nutcracker ballet and reading her Nutcracker storybook.  For day six she found a little wooden nutcracker ornament that she could paint herself.  She was absolutely thrilled to have a Nutcracker like Clara and carried it around all day before painting it.
Related Posts with Thumbnails