Showing posts with label science. Show all posts

Friday, 16 August 2013

Rocks-Classification and the Rock Cycle

Naturally after learning about volcanoes our conversations turned to rocks and their different forms.  The Internet is an amazing thing and I can see why so many people are homeschooling now.  In just a few seconds you can find an infinite amount of information, activities and handouts on any given subject!  Amazing!
 
We started with this cool rock cycle activity.  We grated some different colored crayons into piles.
For the sedimentary rock L layered the colored shavings on top of each other on some tin foil and then folded the sides up into a little package.  We both applied as much pressure as we could.
 

For metamorphic we made a little tin foil boat and L put the shavings into it.  We dipped it into a cup of boiling water for about 10 seconds and then folded up the tin foil again and pressed on it.
 
To make the igneous rock we once again put the shavings in a little boat but this time L stirred them around until they were completely melted.  We then folded up the tin foil and put it in the freezer for a couple of minutes.
These were the results.  A truly effective way to demonstrate the rock cycle.  Thank you to all of those bloggers that share their brilliant ideas!

 
While we were perusing our local book store I stumbled upon an absolute gem.  I found pamphlet called A Field Guide to the Identification of Pebbles all about the pebbles on Vancouver Island.  It has pictures of all of the different rocks and their classifications.  It is brilliant!
 
We took a stroll to the beach and collected our specimens.
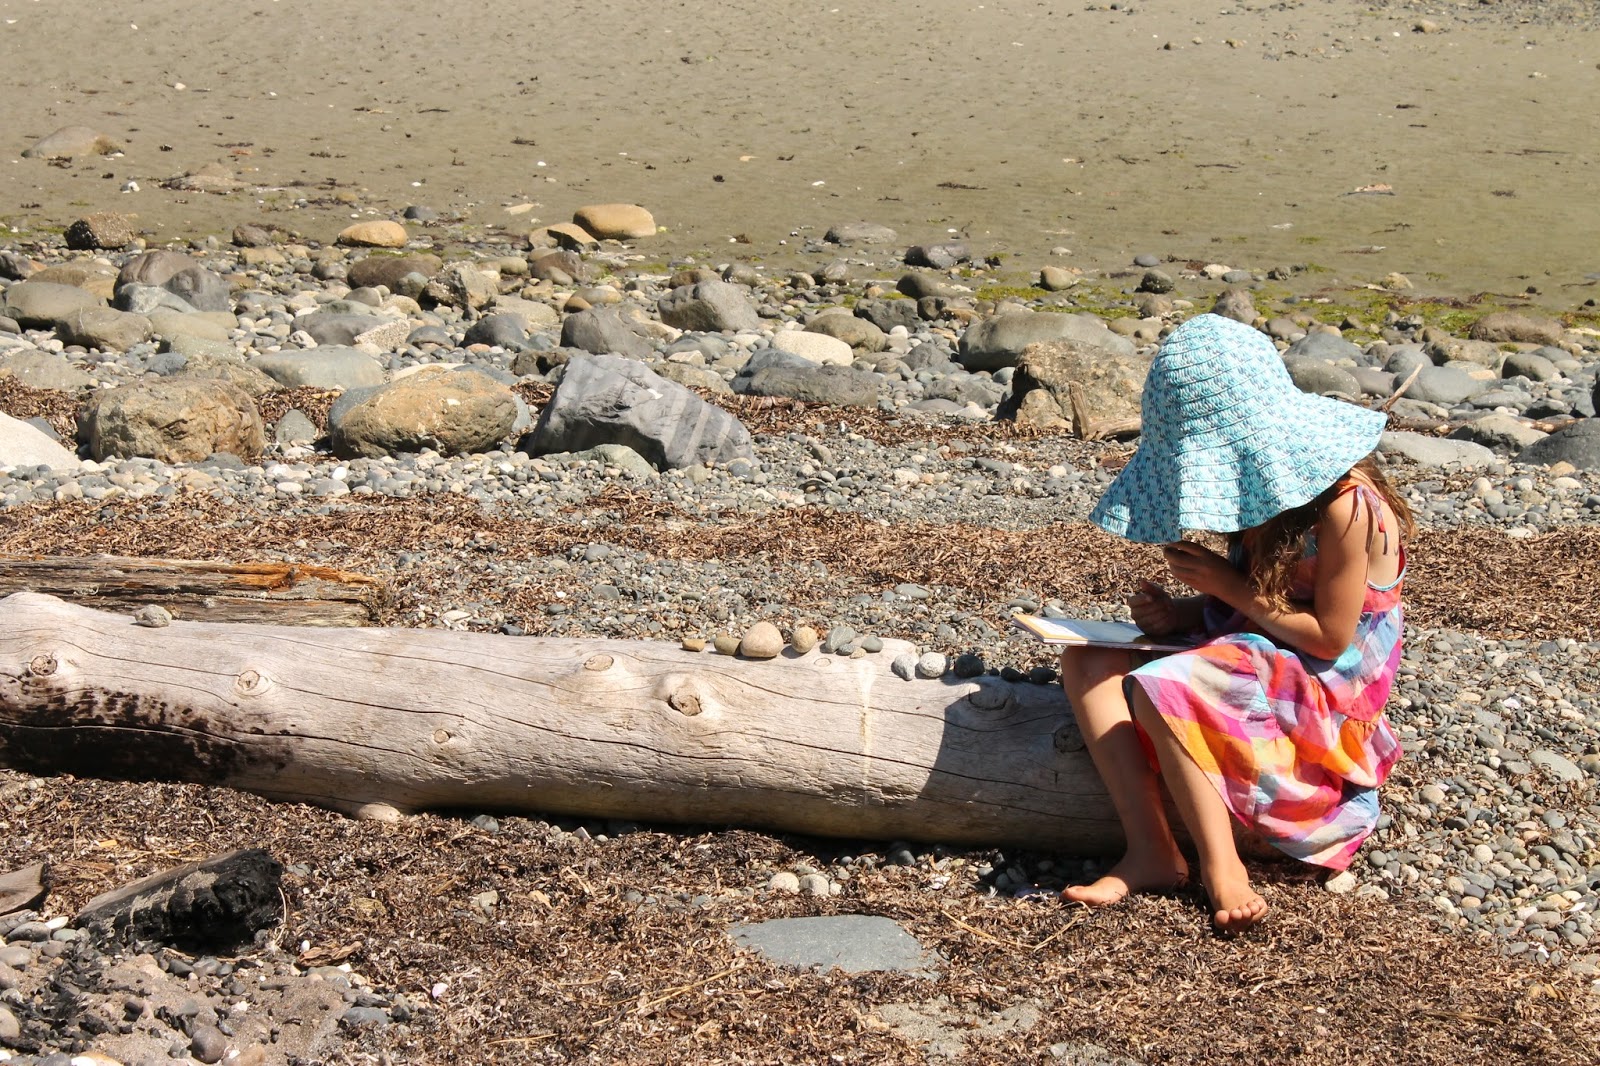
 Once we got home L classified them using the pamphlet.  She also did the Mohs scratch test on some of them with a screwdriver to check hardness. 
 On our travels this summer we were lucky enough to visit a wonderful rock and gem shop with little caves that held gems that L could pick out and put in a little bag.  She was able to match them to the card that came along with them.
 I think a rock tumbler is now on the birthday list!!

Monday, 22 July 2013

Volcanoes

Learning about volcanoes is always super fun!  We read several books from the library as well as watching eruptions on Youtube.  We talked about how volcanoes are formed and what causes them to erupt.  It was also important to discuss how they affect people and how we are safe and are not anywhere close to any active volcanoes.
 
Then came the fun bit.  L had already done the baking soda and vinegar science experiment at school so she was familiar with the reaction.  She hadn't done it in a model volcano before though!
We found instructions on how to make this model volcano at Storm the Castle
 
First you take a normal cardboard box and cut it down so the sides are just high enough to contain the eruption.  We left a high volcano sized bit at the back to paint the sky onto.
We used the leftover bits of cardboard and some scrunched up plastic bags to make the skeleton of the volcano.
I almost forgot the most clever bit.  Cut a hole in the bottom of the box the size of the bottle you are going to use.  This way you can fill the bottle up first and place the volcano on to of it.  Cover it in a plastic bag and place it in the skeleton for the next bit.
 
 Next we used paper mache (just flour and water) to glue strips of newspaper on and form our volcano.  L hates getting her hands gooey so I ended up putting most of the pieces on.  We used a hairdryer to speed up the drying process but still left it for a day.
 After painting it with acrylic paint we were ready to go.
 This was a big event so L invited some friends over to watch.   She mixed baking soda, dish soap and red food coloring in the bottle and placed the volcano over it.  Then she poured the vinegar in.

Soooooo exciting!!!  The first few times we did this our bottle was not high enough and the foam just went inside the volcano.  It took several tries to get it just right and we used up all of the vinegar and baking soda!
After all of the excitement had died down I gave L this sheet to label all of the parts of the volcano and color.  At the moment it is proudly displayed on her bulletin board.  Once she is ready she will paste it into her science journal.
We are going to Kelowna British Columbia in a few weeks for a short trip and there is an extinct volcano there called Mount Boucherie that we are going to visit. 
 
So what becomes of all of this lava??  Next up rocks......

Friday, 19 July 2013

Volcanoes and the layers of the earth

One of the first things on L's summer to do list was volcanoes.  I figured before we dove in and made a cool volcano erupt we needed to go a little deeper and learn about the layers of the earth.
 
First we watched a Youtube video of a song about the layers of the earth which L found quite catchy and easy to pick up.  We also looked at several diagrams in books and on the Internet.
Once she understood the different layers we made our own model out of modelling clay.
 
L started by rolling a small red ball of clay to represent the inner core.  She then proceeded to roll out a different color for each layer and cover the  ball with them with a little help from me.  It's important not to squish them too much and takes a little finesse.  We tried to make each layer approximately the width it should be in proportion to the other layers but we only had so much clay.
 The final layers were the water and then the continents.
 Once she had held the world in her hands we took a sharp knife and sliced it in half. 

 She was tickled pink that she had a made a real model of all of the layers of the earth and showed it to everyone she saw.
I found it a very effective way of demonstrating how the layers work.
She then wrote up what she'd done in her science journal.
 
A few day later we just happened on a documentary I think it was on the National Geographic channel all about going down through the different layers of the earth.  It was fascinating and perfect timing. 
Now on to volcanoes.....

Wednesday, 3 October 2012

Habitat Game

 
We recently borrowed a video on habitats from the library.  It was really well made, upbeat and engaging and there were even little quizzes after each segment which L enjoyed.  It gave me the idea to make this habitat game.
Such a simple concept but really effective in learning about and discussing different habitats.  I used five different coloured pieces of card stock to make the habitats and then put labels on them.  I printed out different animals from Google images for each habitat onto card stock.
 

I made up a bunch of different cards which say things like:
 
Place an animal in the tundra habitat
Place an animal in its habitat
Which is the only continent that doesn't have a grassland habitat?
What are two types of water habitat?
 
It's a fun way to learn and talk about different characteristics of habitats and their inhabitants.


Sunday, 12 August 2012

Can you see me now?

 I saw this super fun camouflage activity over at Relentlessly Fun, Deceptively Educational and just couldn't wait to try it out with L.  First we had to order the book   Where Else in the Wild? More Camouflaged Creatures Concealed … and Revealed by David M.
Schwartz from the library.  This book has great pictures of different animals totally camouflaged in their environmet.  It has a game-like feel as it gives the reader clues in a poem to help to detect the animal.  On the inside flap of the page it shows the outline of the creatures plus
gives a ton of info about the actual animal.  L loved this book and some of them were so tricky it took her a while to find them.  She was so eager to turn the page and find out if she guessed correctly.

 After reading the book together I asked L to get all of her animals.  She was super excited when I told her to hide them "camouflage style" while I closed my eyes (and nursed the baby, oh ya multi tasking!) Once she had hidden a ton of animals it was my turn to try and find them. 

This little preying mantis was my favourite find sneakily hiding on the actual book!  Once we both had a few turns being the camouflager I have to say I petered out(she could have kept playing all day)and told her to hide some for when Daddy came home. 
She even packed a bunch of animals in her backpack this past week for a trip to her Aunty's in Vancouver to play the game with her!

Saturday, 4 August 2012

Solar System Part 3

We finished the solar system unit quite a while ago now but I only just got around to taking pictures of our last two projects.
The first is an Our Solar System book which L made using her library books and three part cards.  She made this after we'd finished all the other activities so the information was fresh in her mind.  She drew a picture of each planet on one page and wrote a few facts on the other.
 The piece de resistance!! Our solar system mobile.  We used different sizes of Styrofoam balls and painted them with a mixture of acrylic paint and Modge Podge.  This project was so fun until it came to hanging the planets.  That's when I sat with invisible thread, a needle and bunch of planets cursing the day I decided we should do the mobile.  L had long moved on to something else!  Well finally I finished it and I think the result was worth it.  We hung it above our kitchen table for a few weeks so we could observe it while we ate!

Thursday, 5 July 2012

The Solar System Part 2

Here are some more of our Solar System activities.

This was another "try it" from the book Starting With Space: The Planets by Cynthia Pratt Nicolson.  The purpose of this "try it" is to see how the clouds of Jupiter are constantly moving, swirling and changing. 
To create your clouds you need to put 1 cup of milk into a pie plate or something similar.  Then add two drops of yellow food coloring on one half of the plate and two drops of red on the other half.  Then add a drop of dish detergent to each of the drops. 

 Gently swirl and you get a wonderful effect!  L loved this experiment and was busy swirling and watching for ages.  Once everything was totally blended together she wanted to try it again.


Another activity that was fun and also had so many educational elements is the Planets Winding Word Puzzle. You have to follow the directions to find words that make up a clue about one of the planets.  It covers reading, writing, following directions, left and right as well as questions on the planets. This is from my new favourite blog Relentlessly Fun, Deceptively Educational.  This blog totally rocks and has so many super cool activities that are right about L's level. 


I think this next activity was L's favourite.  Pin the sun on the solar system!  I found the page here that L colored and then cut out the planets.  I used a compass to draw the white circles on black construction paper, added the planets and then we took turns using the blind fold and trying to place the sun in the centre.

Saturday, 30 June 2012

The Solar System Part 1

On the first day of L's summer holidays we sat down together and made a list of all of the things she'd like to learn about and do this summer.  One of the first things on the list was the Solar System.  The first thing we did was to get some books out of the library.  We found several but the one that was the most useful was Starting With Space: The Planets by Cynthia Pratt Nicolson.  Not only did this book have lots of information at L's level but it also has lots of experiments or "try its". 

This time around instead of preparing all of the materials for L before hand we worked on them together.  After reading the books together we made some three part cards of the planets.  We found pictures on Google Images and then wrote some facts about each planet on the back.
Next we made some felt planets to go with the cards.  I got the idea for from Counting Coconuts.  Instead of sewing though we just glue guned them together and they took no time at all.  L also helped with the tracing, colors, sizes and cutting out.

 Here's L reading some info about each planet and then matching the card and the felt planet.
 Here's the finished product.

 One of the "try its" in the book was to measure the distance between the planets.  It talked about how scientists use Astronomical Units and one AU is the distance from the Sun to Earth.  L measured with her foot.  Mercury at the instep of her foot(heel against the sun), Venus at the joint of her big toe and Earth at the tip of her big toe.  Mars 1 1/2 steps from the sun, Jupiter 5 steps, Saturn 9 1/2 steps, Uranus19 steps and Neptune 30 steps.  Wow no wonder Neptune is the coldest planet!!

Another "try it" was to compare the size of the planets.  We just used a big yellow box for the sun.  A pea for Mercury, two plums for Venus and Earth, a raspberry for Mars(which I now see is in the wrong spot!), I calls for a watermelon for Jupiter but we didn't have one so we used L's ball.  A cantaloup for Saturn and two nectarines for Uranus and Neptune.  This was very helpful in realising how drastically different the planets are in size.
We are both loving learning about the Solar System and I'm learning just as much a L!!  Stay tuned for more....

Wednesday, 8 February 2012

Auroras

We found this beautiful book about the story of the Northern Lights at the library recently.  It is beautifully written and illustrated by Mindy Dwyer.   After reading it L had a lot of questions about what exactly the Northern Lights are.

 I found this little story on the Internet about the Aurora Borealis and Australis that L could read herself.  We also looked at several pictures on the Internet and watched this wonderful video.
Then it was time to do some hands on. 
We covered out sheets of water color paper with dark blue watercolour paint.  Once it was dry we used black paint to do our silhouettes of the trees, mountains and a little cabin.  We also added a bit of white for snow.
Once the paint had dried we drew dark thick lines across the sky with different colored chalk and then blended them by wiping a paper towel across them.
Here are the finished products.  L's is on the top and Mommy's is the bottom one.

They ended up being quite effective and L proclaimed "They look just like in the book!"

Wednesday, 28 September 2011

Hunting for Fossils

A few weeks ago we had a wonderful family day searching for fossils.  Vancouver Island has many places which are perfect for amature fossil hunters.  We equipped ourselves with hammers, picks, buckets and of course a lovely picnic lunch.
 The weather was gorgeous.
 These two fossil hunters took their work very seriously.
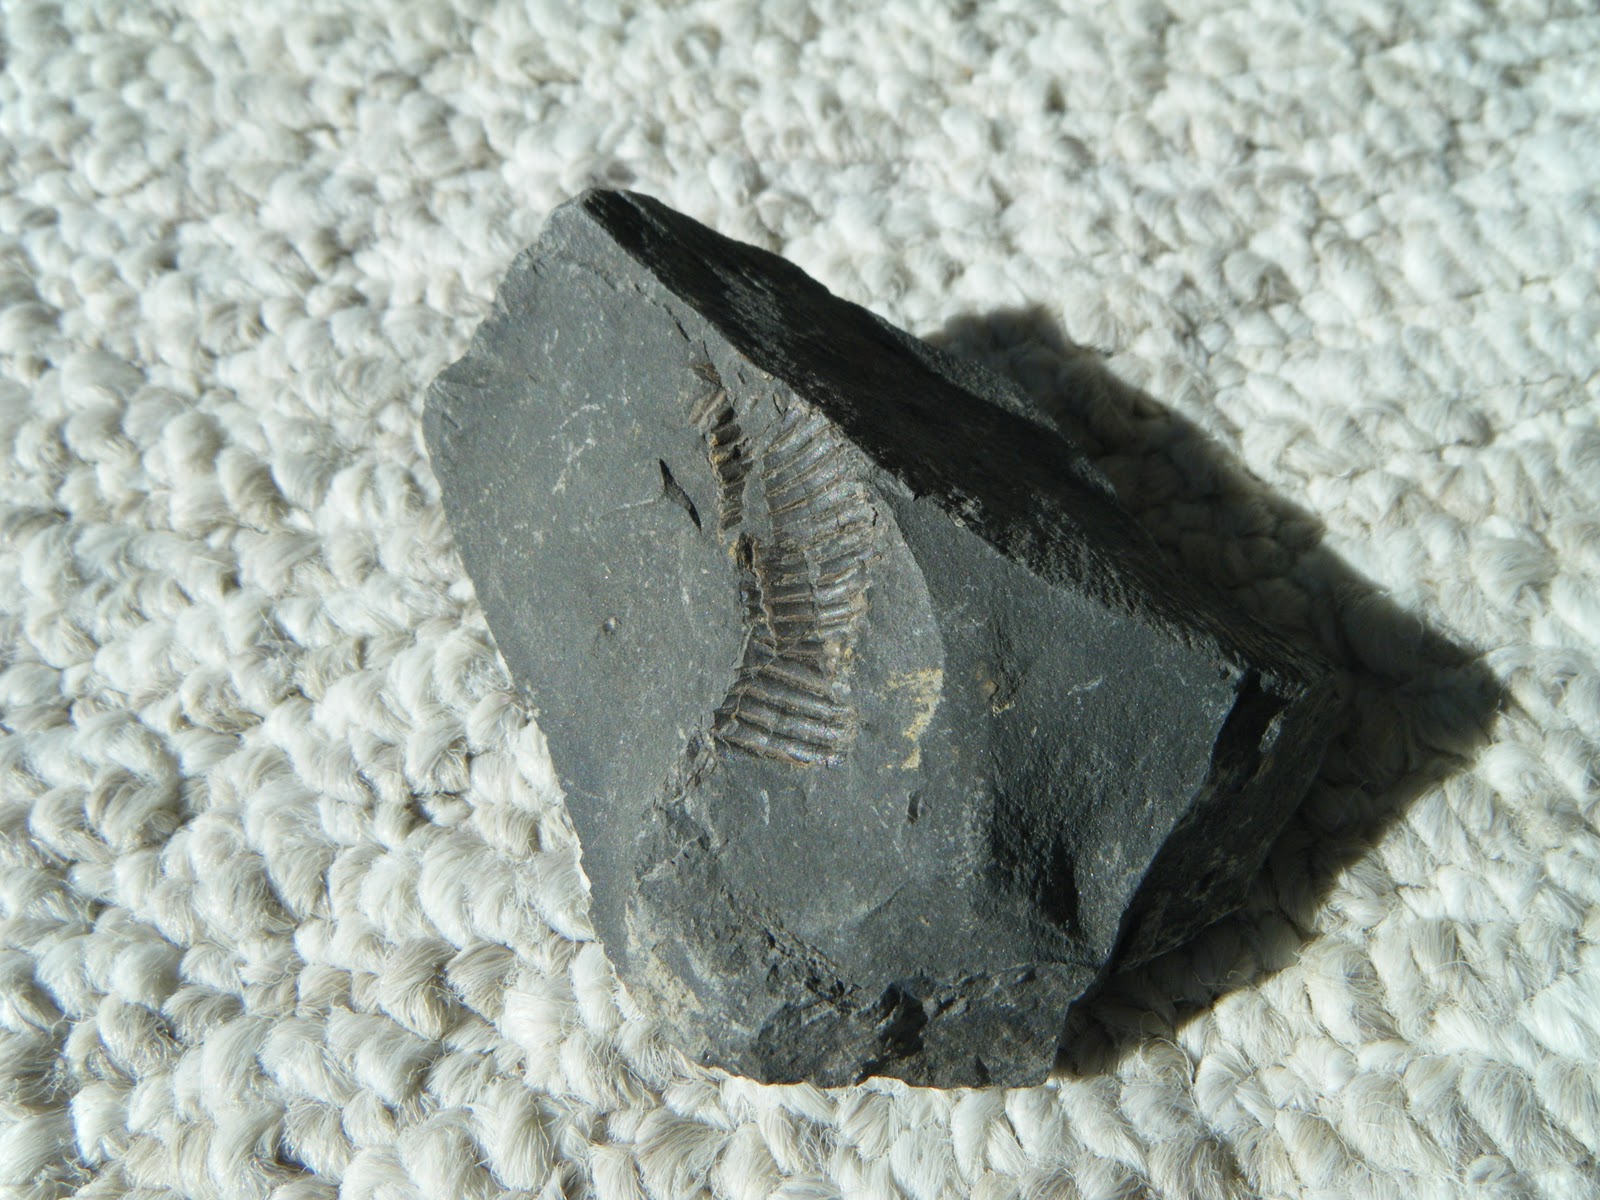
 In the end we were successful and found what we think are two trilobites!!

A wonderful day was had by all.  Even when L fell into one of the pools and had to wear Daddy's top as a dress while her clothes dried!
After our finds we have gotten the fossil hunters bug and hope to go out hunting again soon.


Saturday, 13 August 2011

Summer of Science Part Two

Lately we've been learning about matter and how it can change.

I introduced L to the three states of matter with this tray.  We talked about how matter is anything that takes up space and how it can be in three different states.  Once we discussed this L looked around the house to first find solids and then liquids and breathed in lots of gas (air : ).  It's wonderful to see the delight in a child when they first discover something new and the whole world opens up to them.  L was excitedly running around the house pointing to things and saying "my shampoo is a liquid, milk is a liquid....."


We then talked about how some things can be all three states at different times.  We used water for our example.  L is examining a glass with water in it, ice cubes and the steam from boiling water.


We've also been talking about reversible change and irreversible change.  L could see and experiment with how water can change into ice when frozen and then melt back into water when heated, which is an excellent example of reversible change.
We saw an example of irreversible change when we did the "heat" experiment with apples.

We also did an experiment on decay and talked about how all living things will eventually die then decay and turn back into soil.  This led to some interesting discussions as you can imagine but I tried to keep it light and scientific.
We took a large piece of watermelon that had been in the fridge for a while and did an observation of it.  L drew a picture of it in her science journal and we dated it.
Here it is a week later.

Here is L doing her second observation in her journal and noting the changes.  She didn't last very long out there as there were too many wasps and she retreated to the kitchen periodically going out to "observe" from the deck.
We left it out there until it was so small and shrivelled that we just dug it into the soil.

Our weather has been the pits this summer so it's been and ideal time to do all of our science projects.  Before I found Sid the Science Kid I have to admit that I was really unsure of how to introduce science to L but the show has made it super simple and tons of fun.  I also have a wonderful book of 101 Science experiments that we will move on to soon.

Wednesday, 20 July 2011

Cloud Gazing

We've been learning about clouds.  I had this wonderful vision of L and I lying on our backs in a grassy field gazing at the clouds with the sun on our faces.
Hahaha.  So far we've had two days that didn't involve the oppressive blanket of stratus clouds!
We really are hoping that our summer will start soon!

For our cloud study we first used some classified cards on the four main types of clouds, Cumulus, Cirrus, Stratus and Nimbostratus.  I have to say a huge thank you to my bloggy friend Aude over at My Montessori Preschool.  She did a wonderful unit on clouds earlier in the year which you can read about here.  She was generous enough to send me the file for these great classified cards. (Also a huge thanks for the wonderful things she sent for my Europe continent box, gotta love the people you meet in the blogsphere!).

Here are the cards.  There are two pictures of every type of cloud.  On the one with no label I put the definition on the back.


L made up a cloud book using cotton balls.  I printed up the labels and she cut them out and stuck them on.  She had a blast making this book.


Rain cloud experiment.  We also got this from My Montessori Preschool.  The purpose is to slowly add drops of water to the cotton ball 'cloud' and see how much it will hold before it starts to rain.  L did this three times in a row.
 We also tried making a cloud in a bottle which we both agreed was a fail.  I found some instructions on the Internet but we weren't impressed with the results.

Although we know stratus clouds really well now I'm looking forward to the days when we can name the other clouds and predict the weather.  

Friday, 15 July 2011

Summer of Science

This summer we've been all about science experiments.  As I mentioned in this Dental Health post we've been watching Sid the Science Kid and the show has really inspired us to do the experiments and also add in some of our own.

Flowers
L cut two white tulips from the garden.  We added about ten drops of blue food coloring to a glass and put the tulip into it.  After a couple hours we could already see blue dots along the edges of the petals.  This picture is after one day.  We also tried different colors but the blue was the most effective.


Exercise
We saw this one on Sid the Science Kid.  Learning about how exercise is important and how you can feel your heart beat faster once you've done some exercise.  First L and I thought about different ways you can exercise your body and then we tried them.  Below she has drawn her observations in her science journal.  We tried out biking, hula hooping, running, soccer and dancing.

Does it Dissolve?
I saw this experiment over at The Picky Apple .   We first talked about the definition of dissolve.  We got five different substances, coffee, sugar, lentils, flour and oats.  L poured water into the glasses and then made  predictions on what she thought would dissolve and what wouldn't.
She then poured the substances into the water glasses one by one and stirred them up.  She was able to easily see if they dissolved or not.  I made up labels for Dissolved and Didn't Dissolve and she put the substance labels under the correct headings.


Here are her observations in her science journal.  Sometimes she will write things as well or ask me to write if there are too many words.


Heat
This one was also from Sid the Science Kid and it was really cool.  L learned about how heat changes things.  We demonstrated this by cutting up some apples and putting them in a pot with some cinnamon.  L tried to mash them up but they were way too hard.  We added some water and put them on the stove for about 20 minutes, stirring them constantly. 


L tried to mash them again and they were super soft.  We enjoyed some yummy apple sauce and talked about how this was an irreversible change.  We also talked about what other food gets softer when we cook it such as spaghetti and potatoes and what foods get harder such as pancakes and eggs.

Here are her observations.

We have many more experiments lined up for the following weeks.  I really love the idea of keeping a record in her science journal that we can look back in to remember all of the different experiments.  Thanks Sid the Science Kid!
Related Posts with Thumbnails